Simulator of forest biodynamics SIBYLA
Main program menu
How to work with main program menu ?
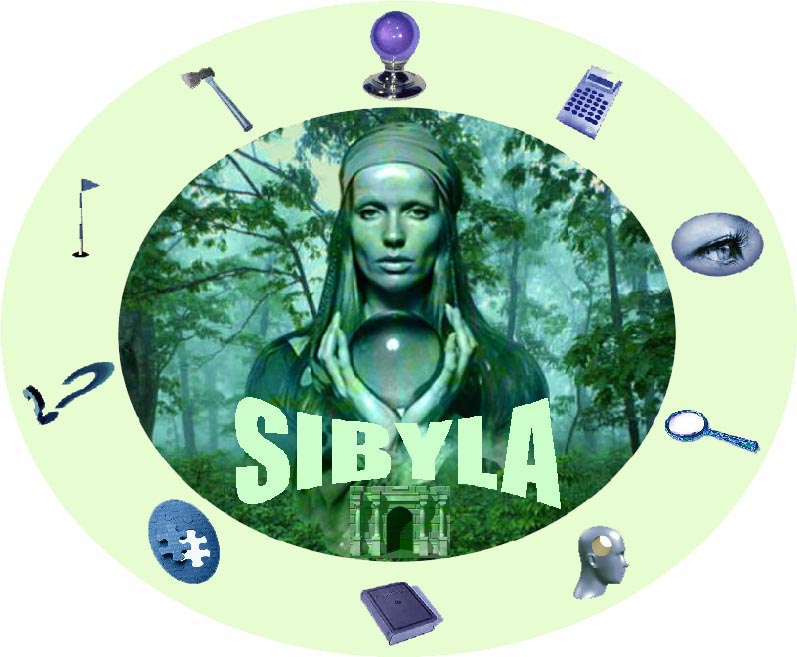
The above picture shows main program menu. Inside the ellipse of the main menu, where the prophetess with the crystall ball is, the settings dialogues of the simulator and the information dialogues are situated. Main modules of the growth simulator are situated on the perimeter of the ellipse. The dialogues and modules are activated by single click on the particular part of the main menu picture. The shape of the pointer is being changed from the original arrow to the raised forefinger any time the pointer points at such a part of the main program picture that behaves as a button. At the same time, a yellow box with the name of the dialogue or the module is displayed.
What are setting and information dialogues ?
This dialogue is activated by single click on prophetess' forehead. It contains information about the licence and the development team of the growth simulator. The dialogue looks as follows:
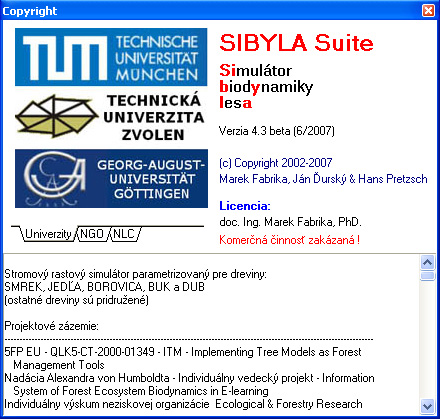
The upper left part contains the list of institutions that have participated in the development of the growth simulator, while the insititutions are divided into several book-marks. The upper right part contains the program name, the version, and the licence category. The licence category consists of user's name and licence type. For freeware type, the red notice "Commercial activities forbidden !" is presented. If the licence is shareware, the green notice "Commercial activities allowed by authors !" is shown. The lower part contains basic information about the growth simulator, project background, software development, data base, authors, and literature. In this dialogue, it is possible to scroll up and down using the side navigation bar or cursor arrows.
This dialogue is activated by single click on prophetess' lips. Here, it is possible to change the language version of the program. The dialogue looks as follows:
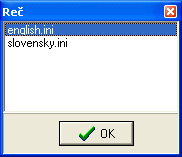
Select the required language from the menu and press the button "OK". Afterwards, all dialogues are automatically displayed in the chosen language. Slovak and English language are provided as standards, while after the first installation Slovak language is initiated by default. Other languages can be added in a parametric way. The directory "LANGUAGES" in the directory of the main program serves this purpose. In this directory, text files with the language name and the extension ".ini" are saved. The file name is displayed in the upper dialogue box. The language file (e.g. slovensky.ini) can be copied, renamed and saved under a new name ( e.g. deutsch.ini) in the same directory, and text strings can be translated to chosen language. The text strings that are to be translated are situated after the symbol "=" in every line of the text file, as it is shown in the following example:
[iPIXForm]
iPIXForm.Caption=iPIX prehliadač
MessageBox.Items[0]=iPIX prehliadač
Subor.Caption=&Súbor
Otvorit.Caption=Otvoriť...
Koniec.Caption=Koniec
Note: Intervention into other parts of the file (e.g. before symbol "=" or in header segments in square brackets) can corrupt translation functionality !
The symbol "&" is located in front of the character that should serve as a hot key for some menu items. Note that the symbol operates only if the item belongs to menu items. In such a case, the symbol is dropped out from the word and the specified character is highlighted (underlined). However, in the items, which are not defined as menu type, the symbol is displayed inside the word. In addition, it is necessary to change the content of files of types "cc3d_*.ini" and "ccpro_*.ini" (where the symbol "*" stands for the language name) in the nested directory "BlaxxunContact". For the new language, the new files of the above-mentioned types have to be created, e.g. by copying and renaming the existing files, i.e. by replacing the original language name with the new language name, which has to coincide with the language name in the main language file (e.g. "cc3d_deutsch.ini" and "ccpro_deutsch.ini"). Its content has to be translated likewise the content of the main file.
This dialogue is activated by single click on the crystal ball in prophetess' hands. The dialogue is used to set up the version of the applied mathematical model and to select the applied database file. The dialogue looks as follows:
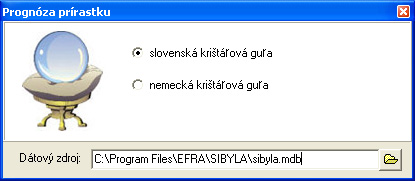
In the upper part, the version of the mathematical model can be selected by clicking on the type of the crystal ball. Slovak mathematical model utilises the algorithms (equations and coefficents) of the growth model and the mortality model of the simulator SIBYLA, while German mathematical model uses the algorithms of the simulator SILVA 2.2. The model selection also changes the model for setting climate, air, and soil characteristics in the module Localizer, in which the correct map of the country is used. In the lower part, the database file is selected. Specify the file either in the editing line or by clicking on the button behind the editing line. When you click on this button, the dialogue box for file selection is displayed. All what is needed is to go through the disc and select the correct file. Database files of the type Microsoft Access are used as input. The structure of tables and items is defined and described in the description of database structure. Default settings after program installation include Slovak crystal ball and the file "sibyla.mdb" located in the directory of the main program installation. This file can be used as an exemplary or a training file with the correct database structure.
Note: If a database file of incorrect type or with an incorrect database structure is used, the functionality of the growth simulator can be corrupted !
This option is activated by clicking on antique door below prophesses' hands, or below the name SIBYLA. The option closes program SIBYLA Suite. This is the only standard way of closing the program.
What are the main modules of the growth simulator SIBYLA ?
They are the basic modules that are responsible for specific actions in growth simulations. Their functions are interlocked. They are activated by clicking on icons on the perimeter of the ellipse of the main menu. Usually, they are run sequentially clockwise, starting from the module Generator. In several cases, it is possible to skip or to return to any module.
|
This module generates data of individual trees (diameter, height, crown parameters, spatial coordinates, quality parameters) from different source information. |
|
This module is used for the selection of forest stands (simulation plots) for prognosis. |
|
Using this module, climate, soil, and air characteristics are set up for individual forest stands. |
|
This module provides a user with great possibilities to set up thinning and treatment measures in forest stands. |
|
This module runs growth simulations of forest stands with a possibility to set up the type of the growth prognosis. |
|
This module aggregates tree results of the growth simulation to per area results. |
|
This module presents the results of the growth simulation in the form of tables, graphs, pictures of forest stands, and virtual reality. |
|
This module is used for the analysis of the results in the form of time series, while the development of characteristics is presented in tables and graphs. |
|
This module provides information for advanced users about growth prognosis. |
|
This module is an electronic manual of the growth simulator in the form of the hypertext document you are currently reading. |
© Copyright doc. Ing. Marek Fabrika, PhD.
© Translated by Dr. Ing. Katarína Merganičová - FORIM


